Version: 8.0.x

Login using Keycloak

SSO authentication using Keycloak#

Follow the steps below to be able to use SSO authentication implemented in both Openhim Console and Openhim Core using Keycloak.

Enabling SSO#

1. Openhim Console:

You need to enable the SSO in the config file default.json:

"showLoginForm": true, // This is optional, you can have both authentication
"ssoEnabled": true,
"keyCloakUrl": "http://localhost:9088", // Change this to be the Keycloak URL
"keyCloakRealm": "platform-realm", // Change this to the name of the realm configured in the Keycloak
"keyCloakClientId": "openhim-oauth" // Change this to the client ID specified in the realm configured in the Keycloak

2. Openhim Core:

This configuration should be adapted according to your use case.

"api": {
"authenicationTypes": ["openid"], // You can enabled other authentication types e.g. ["openid", "local"]
"openid": {
// Openid connect provider realm url link
"url": "http://localhost:9088/realms/platform-realm",
// Callback URL used by openid connect provider (should be the same callback URL specified in realm)
"callbackUrl": "http://localhost:9000",
// CLient ID specified in the realm
"clientId": "openhim-oauth",
// Client secret specified in the realm
"clientSecret": "tZKfEbWf0Ka5HBNZwFrdSyQH2xT1sNMR",
// Scopes to be requested from Openid connect provider
"scope": "openid email profile offline_access roles"
}
}
Login With keycloak UI

Notes#

Clicking on Sign-in with keycloak will redirect you to Keycloak Login UI.

Login With keycloak UI

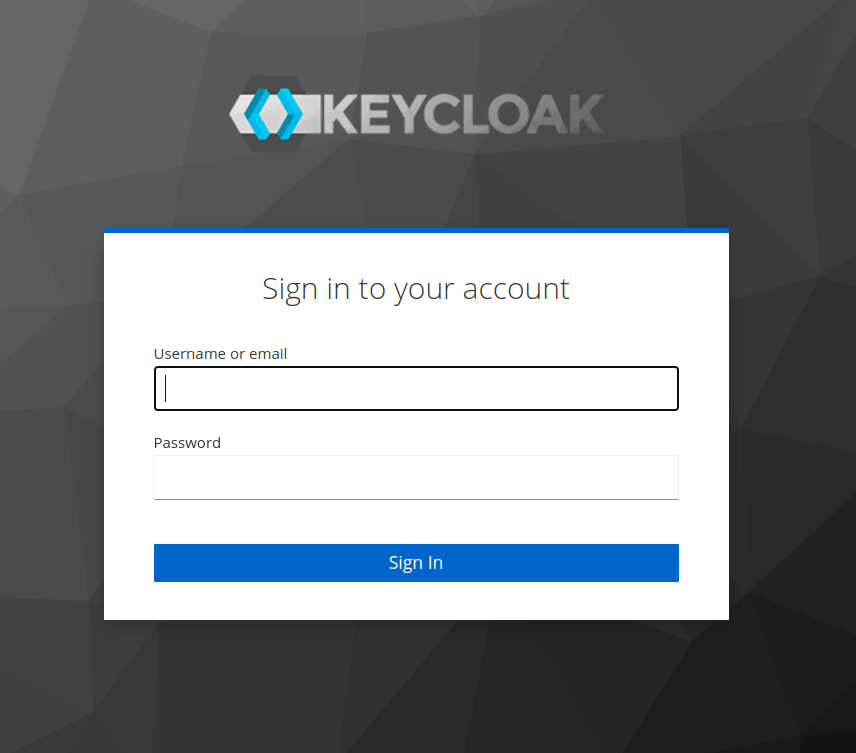
After entering the Keycloak User credentials and submiting you will be redirected to the dashboard.

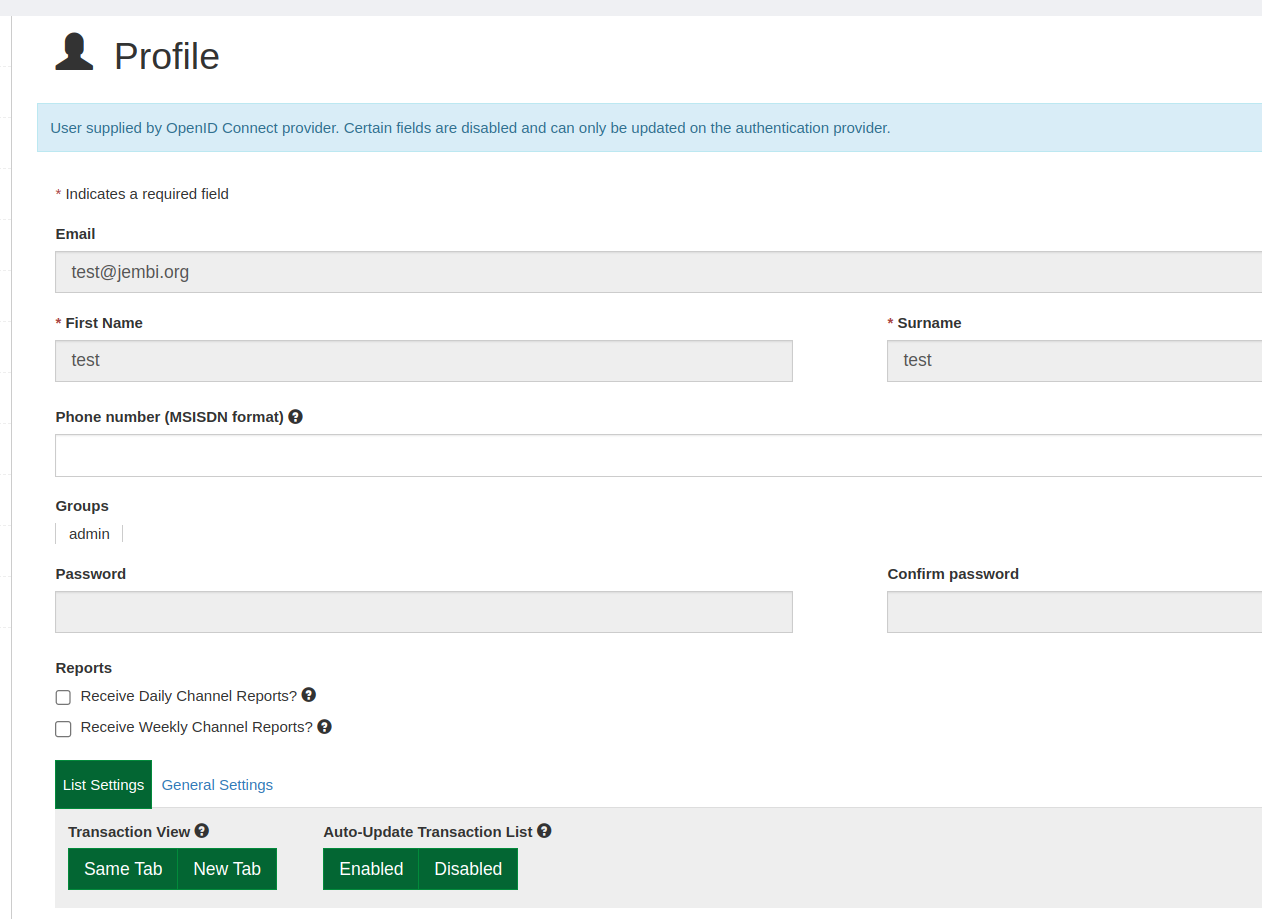
Make sure that Keycloak is on and running to be able to authenticate successfully and that you configured a user with group permissions and details that you need.

The profile user in Openhim will be the same as the profile configured in Keycloak and you will not be able to edit the essential fields from Openhim for that user.

Login With keycloak UI